
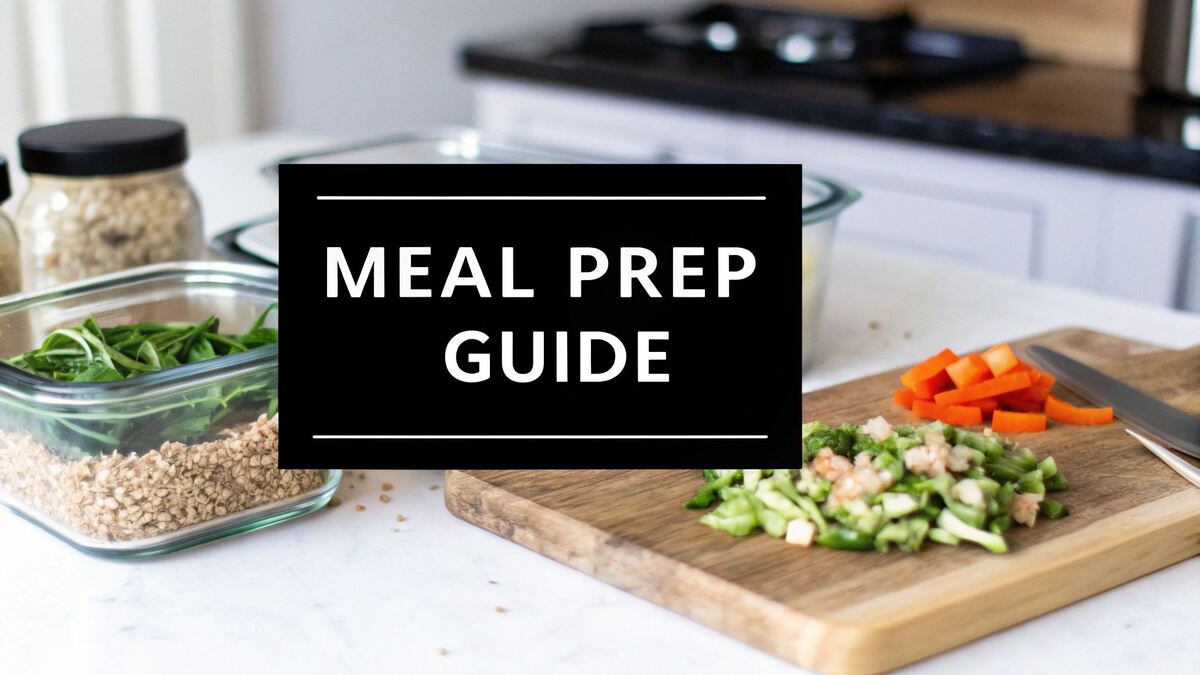
How Do I Start Meal Prepping for Beginners?
To start meal prepping, begin with a simple 3-step process. First, pick 2-3 easy recipes for the week that share some common ingredients. Second, create a shopping list based on those recipes and buy only what you need. Finally, block out 1-2 hours to cook the core components, like a protein and a grain, and portion them into airtight containers for the next 3-4 days.
Meal prepping can feel intimidating, with images of kitchens buried under mountains of containers. But for beginners, the reality is much simpler and more rewarding. It’s not about crafting gourmet dishes for every meal. The real goal is to build a sustainable habit that gives you back your time and puts you in control of what you eat. It all starts with a simple mindset shift: just focus on making a few days easier, not the entire week.
A great way to get your feet wet is to tackle just one meal, like lunches or dinners, for 3-4 days. This small step immediately takes the pressure off and helps you dodge those last-minute, unhealthy takeout decisions.
What's the Easiest Way to Meal Prep?
One of the biggest myths about meal prepping is that there’s only one "right" way to do it. The best method is whatever actually fits your life. You can try a few popular approaches to see what feels most natural.
- Batch Cooking: This is easily the most flexible style. You just cook large batches of staple ingredients—think a sheet pan of grilled chicken, a big pot of quinoa, and a tray of roasted veggies. During the week, you mix and match these parts to create different meals, like a chicken and veggie bowl one day and a chicken salad the next. It's the perfect antidote to flavor boredom.
- Fully Assembled Meals: This is for anyone who wants ultimate grab-and-go convenience. You prepare complete, portioned meals ahead of time, like pre-made burrito bowls or containers of chili. It takes a bit more planning upfront, but it’s a lifesaver during a busy week.
- Ingredient Prep: Still love the ritual of daily cooking but hate the prep time? This is for you. You simply wash, chop, and portion all your raw ingredients over the weekend. When it’s time to cook, everything is ready to hit the pan, cutting your active cooking time in half. If you're ever stuck wondering what to make with what you've prepped, you can learn how to create a great meal from the ingredients you already have in your fridge.
This desire for smarter food solutions is part of a massive global trend. People want convenience, but they also want control over their nutrition. The global market for prepared meals was valued at USD 178.83 billion in 2024 and is expected to keep growing. Meal prepping is the perfect bridge, offering the ease of a ready-made meal with the health benefits of home cooking.
What Equipment Do You Really Need?
You absolutely do not need a kitchen overflowing with expensive gadgets to get started. In fact, you probably already have everything you need. Sticking to a few quality basics will set you up for success without making you feel like you need to buy out the entire store.
The secret to a successful meal prep routine is built on simplicity, not complexity. Your goal is to make your life easier, not to create more work. Starting with the basics ensures you build a habit that sticks.
Here are the essentials that will get you 90% of the way there:
- Good Quality Containers: This is your most important investment. Look for airtight, leak-proof containers that are microwave and dishwasher-safe. Glass is fantastic and durable, while BPA-free plastic is lightweight and more budget-friendly.
- A Large Sheet Pan: This is the workhorse of meal prep. It’s perfect for roasting huge batches of vegetables, chicken, or fish all at once.
- A Reliable Pot: You’ll need a decent-sized pot for cooking grains, simmering sauces, or preparing proteins on the stovetop.
- Measuring Cups and Spoons: Non-negotiable for portion control and getting recipes right.
With these simple tools and a clear game plan, you’re ready to go. And if you're looking for an even more streamlined approach, you can always let technology do the heavy lifting by using an AI meal planner to generate personalized plans and grocery lists for you.
How Do I Create My First Weekly Meal Plan?
Getting started with meal prep isn't about creating some elaborate, color-coded spreadsheet. The foundation of a system that actually works is a simple, realistic plan. Think of it as your roadmap—the thing that guides you from the grocery store aisle to your kitchen with a clear purpose.
The first step isn't browsing recipes or making a grocery list. It’s about answering one simple question: why are you doing this? Your answer is the compass that will direct every food choice you make from here on out.
What Is Your Meal Prep Goal?
Before you even think about what to cook, you need to get crystal clear on what you want to achieve. Are you trying to claw back some money from that expensive daily lunch habit? Is your main focus on finally eating balanced, healthier meals? Or are you just tired of that daily 5 PM panic attack trying to figure out what's for dinner?
Pinpointing your primary motivation is everything.
If saving money is your number one priority, you'll naturally gravitate toward recipes that use budget-friendly staples and clever ways to use up every last ingredient. If health is the name of the game, you'll probably focus more on hitting specific nutritional targets. To get a better handle on your body's needs, using a TDEE calculator to understand your energy expenditure is a great starting point.
How Do I Select My First Recipes?
Once your goal is set, it's time for the fun part: picking a few recipes. The key for any beginner is to start small and smart. Please, don't try to cook seven completely different, complex dinners for your first week. You'll burn out before you even get started.
Instead, just select two or three versatile recipes for your main meals, like lunch and dinner. Look for recipes that share one or two core ingredients. For instance, buy a big pack of chicken breasts. Use half for grilled chicken salads and the other half for a quick chicken and veggie stir-fry. This "ingredient overlap" strategy simplifies your shopping list and drastically cuts down on both cost and food waste.
The most effective beginner meal plans are built around a few core components that can be mixed and matched. This strategy prevents flavor fatigue and makes the cooking process far more efficient than preparing five completely different meals.
Over time, you'll build up a personal 'recipe bank' of tried-and-true meals you know you love and can cook with your eyes closed. This collection becomes your secret weapon, making future planning almost second nature.
Should I Plan for Flexibility?
One of the most common rookie mistakes is creating a plan so rigid it's doomed from the start. Life happens. A friend invites you out for a last-minute dinner, or you're just really not in the mood for the chili you planned.
A good meal plan has wiggle room. Map out your week and decide which days your prepped meals will cover and which can be left open. Maybe you prep lunches for Monday through Thursday but leave Friday open for a team lunch. This balance is what makes the habit stick.
Digital tools are also making this way easier. The meal kit market, which was valued at USD 16.2 billion in 2023, is booming for a reason: people need guided, simple solutions. Technology like an AI Meal Planner can automate the entire planning process, turning a chore into a few quick clicks. These tools can generate personalized plans and optimized grocery lists, taking all the guesswork out of it. You can find more insights on this growing market trend at marknteladvisors.com.
What Does a Beginner Plan Look Like?
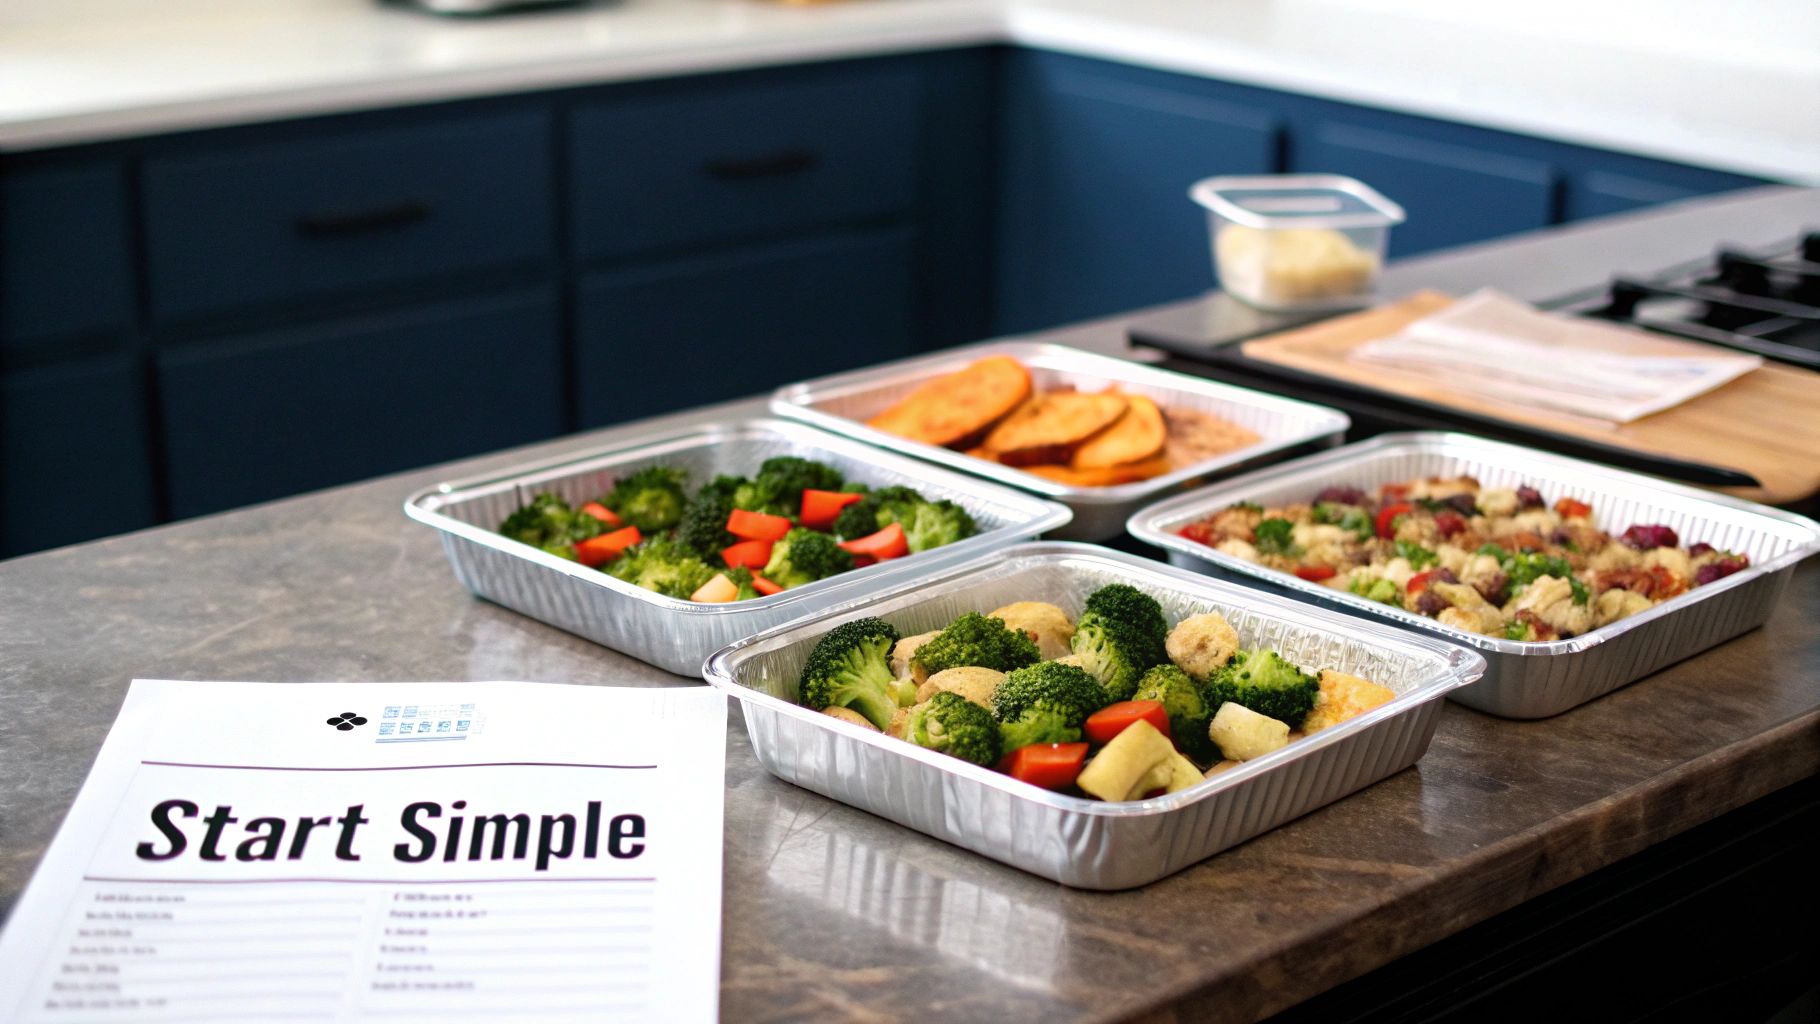
Let's make this real. Here’s what a simple 3-day plan might look like for a busy professional. The focus is on prepping a few core components on Sunday that can be remixed into different meals throughout the week.
Core Prepped Components:
- Protein: 1 lb baked chicken breast, shredded
- Grain: 2 cups cooked quinoa
- Veggies: Roasted broccoli and bell peppers
This isn't about eating the exact same boring meal every day. It's about using your prepped ingredients as a base to build quick, varied meals.
Sample 3-Day Beginner Meal Plan
Here’s a simple table showing how you can turn those three prepped components into six different meals, saving you a ton of time and mental energy during the week.
| Meal | Day 1 | Day 2 | Day 3 |
|---|---|---|---|
| Lunch | Quinoa bowl with shredded chicken and roasted veggies | Chicken salad wrap using pre-cooked shredded chicken | Leftover quinoa bowl with added black beans and corn |
| Dinner | Chicken and veggie stir-fry (using fresh sauce) | Large salad with shredded chicken and a light vinaigrette | Tacos with shredded chicken and fresh toppings |
See how that works? A small amount of work up front creates a cascade of easy, satisfying meals. That’s the real secret to building a meal prep habit that you'll actually stick with.
How Can I Make Shopping and Cooking More Efficient?
A great plan is your starting point, but let’s be real—the execution is what turns those ideas into ready-to-eat meals without sacrificing your entire Sunday. This is where we get practical, starting with a smarter approach to the grocery store.
The goal is to stop wandering the aisles aimlessly and start shopping with military precision. A well-organized list, strategically grouped by store section, is your secret weapon. Seriously, this simple tweak can cut your shopping time in half.
How to Create an Aisle-Optimized Grocery List
Turning your meal plan into a grocery list shouldn't be a random brain dump. The trick is to organize it based on the layout of your go-to supermarket. This prevents that frustrating back-and-forth from produce to dairy and back again because you forgot the yogurt.
Most grocery stores follow a similar pattern. Try structuring your list like this:
- Produce: Group all your fresh fruits and veggies here. This is usually the first section you walk into, so it makes sense to put it at the top of your list.
- Proteins: This is for all your meat, poultry, fish, and plant-based options like tofu or tempeh.
- Dairy & Eggs: Combine milk, yogurt, cheese, and eggs into one tidy section.
- Pantry Staples: Think dry goods—grains like rice and quinoa, pasta, canned beans, broths, oils, and spices.
- Frozen Foods: List any frozen vegetables, fruits, or proteins you need to grab before checkout.
This method creates a logical, one-way path through the store, saving you time and—crucially—reducing the temptation of impulse buys.
A well-structured grocery list does more than just save time; it slashes decision fatigue. By planning your route through the store in advance, you free up mental energy for the more important task of actually cooking.
A few smart shopping habits can also make a huge difference. Buying versatile staples like oats, rice, or canned beans in bulk can definitely lower your costs over time. But don't be afraid to embrace convenient shortcuts when they make sense. Sure, pre-chopped butternut squash might cost a little more, but if it saves you 20 minutes of peeling and chopping, that's a massive win.
How to Map Out Your Cooking Workflow
With your ingredients ready to go, the next challenge is mastering your time in the kitchen. The key to an efficient cooking session is something I call task stacking—the art of coordinating multiple cooking processes at once. Instead of cooking one recipe from start to finish before moving to the next, you manage several components simultaneously.
This visual breaks down the simple, effective flow from setting your goals to automating the whole process.
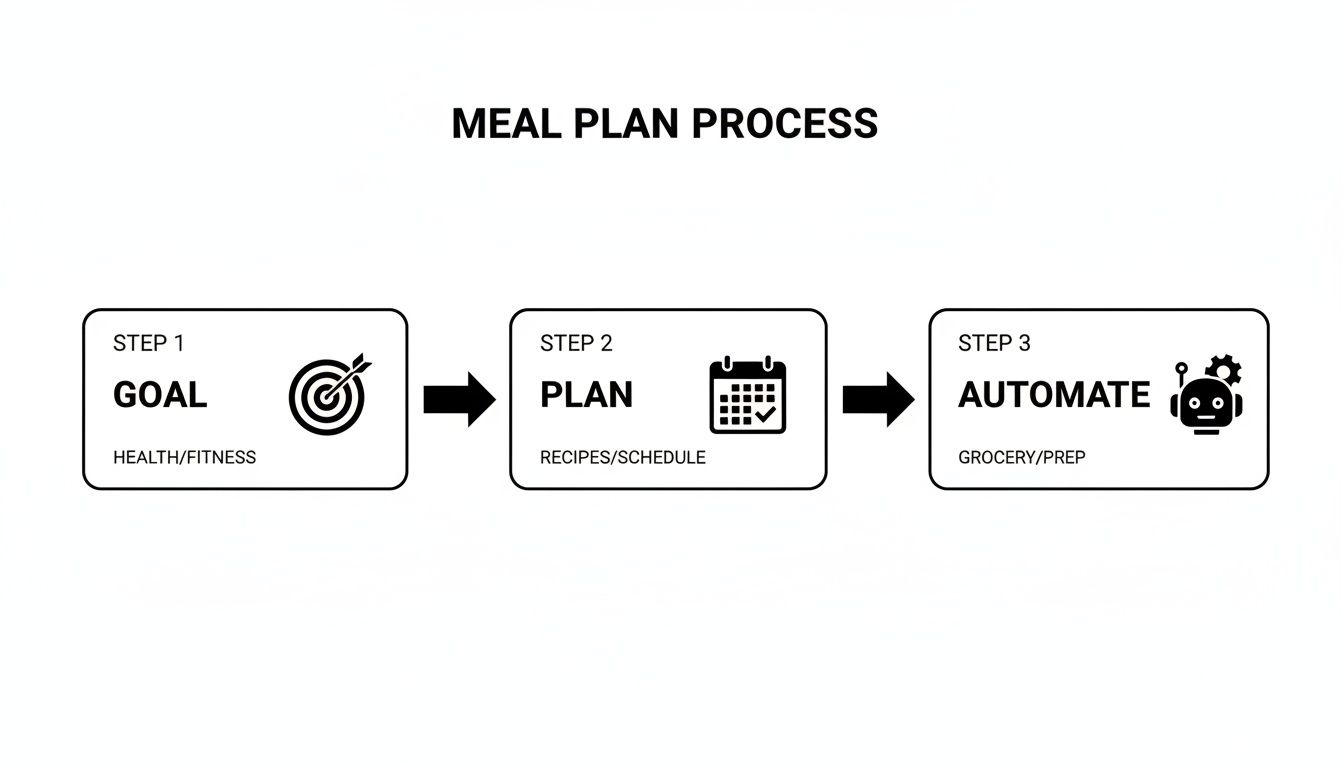
The process is straightforward: define your goal, create a plan, and then automate the execution through smart prep and shopping.
A strategic workflow always starts with the items that require the longest, most hands-off cooking time. This allows you to tackle quicker tasks while the oven or stove does the heavy lifting, maximizing every single minute.
What Does a Two-Hour Cooking Schedule Look Like?
You don’t need to block off five hours for meal prep. A focused two-hour session is more than enough to prepare a week's worth of lunches and dinners for one person. Here’s a sample schedule that shows task stacking in action.
First 30 Minutes:
- Get your oven preheating to 400°F (200°C).
- Wash and chop all your vegetables for roasting—think broccoli, sweet potatoes, and bell peppers.
- Toss the veggies with olive oil and seasonings, spread them on a sheet pan, and get them in the oven. They'll need about 30-40 minutes.
- While that’s happening, get your grains cooking on the stovetop. Quinoa or brown rice will simmer for 15-20 minutes.
Next 60 Minutes:
- With the veggies and grains cooking, it's time to prep your protein. Season your chicken breasts or salmon fillets.
- Once the grains are done, set them aside to cool. Now you can use the stovetop to pan-sear your protein.
- As the protein cooks, use that downtime to wash lettuce, hard-boil some eggs, or portion out snacks like nuts and yogurt into containers. If you need precise portioning, a good calorie and macro calculator can guide your meals to make sure you're hitting your health goals.
- By now, your roasted vegetables should be done. Pull them from the oven and let them start cooling.
Final 30 Minutes:
- Everything is now cooked and cooling down. This is the final assembly phase.
- Portion the cooled grains, proteins, and roasted vegetables into your airtight containers.
- Label your containers (trust me on this) and get them into the fridge.
- Tidy up your kitchen while everything is being put away.
By following a workflow like this, you’ve efficiently prepared multiple meal components in a short, dedicated window. This strategic approach is the foundation of a sustainable meal prep routine that actually works for you, not against you.
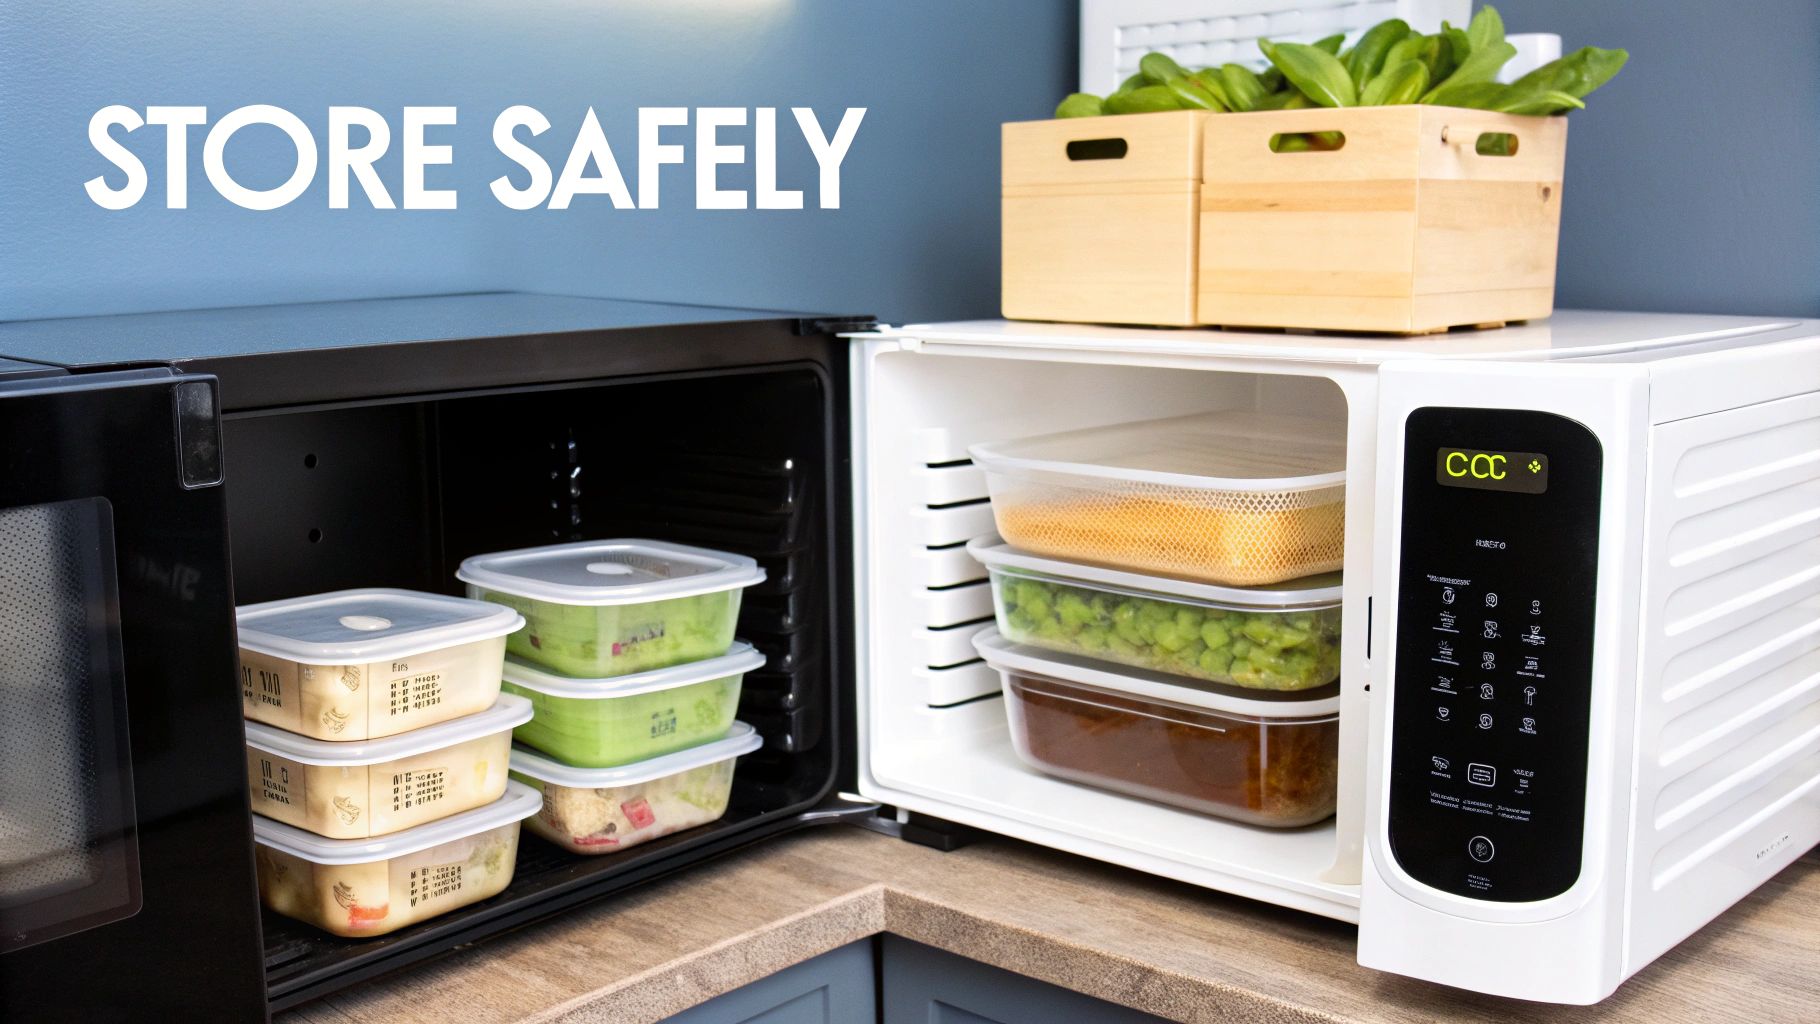
How Do I Store and Reheat Prepped Meals Safely?
You’ve spent a couple of hours chopping, cooking, and portioning out beautiful meals for the week. High five! But all that hard work can go to waste if you don't nail the final step: storage.
Proper storage is what keeps your day-four lunch tasting fresh and delicious, not like a sad, soggy science experiment. Mastering a few key principles of food safety will make sure every meal is as good as the day you made it.
What Are the Best Containers for Meal Prep?
Your containers are the MVPs of your meal prep system. The right choice depends on your budget, how you reheat your food, and what feels best for you. Each material has its pros and cons.
- Glass Containers: These are my personal favorite and a fantastic all-around choice. They're non-porous, so they won't hang onto stains or smells from last week's chili. Plus, they’re safe for just about everything: the microwave, oven (just leave the lid off), freezer, and dishwasher. They are heavier and a bit more of an investment, but they last forever.
- BPA-Free Plastic: If you're just starting out, high-quality, BPA-free plastic is a great, wallet-friendly option. They’re lightweight and portable, making them perfect for taking on the go. Most are microwave, freezer, and dishwasher safe, but always double-check the bottom for instructions—some plastics don't play well with high heat.
- Stainless Steel: A durable, lightweight, and eco-friendly choice, but with one major catch: you can't put it in the microwave. This makes it ideal for things you plan to eat cold, like salads, or for foods you’ll reheat on a stovetop or in an oven.
No matter what you choose, make sure your containers have airtight, leak-proof lids. This is an absolute non-negotiable. It’s the only thing standing between fresh food and a bag full of vinaigrette.
Why You Need to Cool Food Down Quickly
This is one of the most critical food safety rules in the meal prep game: the two-hour cooling rule. Once your food is cooked, you have a two-hour window to get it cooled down and into the fridge. If you leave it sitting on the counter any longer, you’re basically throwing a party for harmful bacteria.
To speed things up, don't just stick a giant, hot pot of soup in the fridge. Divide large batches into smaller, shallower containers first. You can even spread things like roasted veggies or grains out on a sheet pan to cool down much faster before you pack them up.
Let’s bust a myth: it is completely fine to put warm food into a modern refrigerator. Your fridge is a workhorse built to handle it. The top priority is getting your food out of the temperature "danger zone"—between 40°F and 140°F (4°C and 60°C)—as fast as possible.
How Long Does Prepped Food Actually Last?
Knowing the shelf life of your ingredients helps you map out your week and avoid that dreaded moment of tossing out food you worked hard to make. As a general rule, most cooked meals will last a solid 3-4 days in the fridge when stored in an airtight container. Anything you plan to eat after that should go straight into the freezer.
Meal Prep Storage Guide
Here’s a quick-reference chart I use to keep track of where to store common ingredients and for how long. It's a lifesaver for planning.
| Food Item | Fridge Shelf Life | Freezer Shelf Life | Pro Tip |
|---|---|---|---|
| Cooked Chicken/Meat | 3–4 days | 2–3 months | Shred or cube it before freezing. It makes grabbing a portion so much easier later on. |
| Roasted Vegetables | 3–4 days | 3 months | Root veggies like carrots and sweet potatoes freeze beautifully. Veggies with high water content, like zucchini, can get mushy. |
| Cooked Grains | 4–5 days | 3 months | Add a little splash of water or broth before you reheat to bring back that perfect, fluffy texture. |
| Soups and Stews | 3–4 days | 3–4 months | Freeze in single-serving portions. You’ll have a hearty, instant meal ready whenever you need it. |
| Hard-Boiled Eggs | 1 week (in shell) | Not recommended | Keep them in their shell until you’re ready to eat. They’ll stay much fresher that way. |
One of the best tricks to keep things from getting soggy is to assemble your meals strategically. Keep dressings, sauces, nuts, and any other crunchy toppings in separate little containers. Just add them right before you dig in.
How to Reheat Meals Without Ruining Them
How you reheat your food is just as important as how you store it. The wrong method can turn a great meal into a rubbery or mushy mess. The best approach really depends on what you’re eating.
- Microwave: It's the king of convenience for a reason. This is your best bet for things like soups, stews, chilis, and grain bowls. My trick? Cover the container with a damp paper towel. It steams the food gently, prevents it from drying out, and stops splatters. Always stir it halfway through.
- Oven or Toaster Oven: This is the secret to bringing crispy foods back to life. It’s perfect for things like roasted vegetables, chicken cutlets, or baked fish that you want to have some texture. A moderate temperature of around 350°F (175°C) is usually all you need.
- Stovetop: For anything saucy like stir-fries or pasta, reheating in a pan on the stove gives you the most control. A little bit of oil or a splash of water or broth can help rehydrate the dish and make it taste brand new.
If you're looking to take the guesswork out of meal planning and get perfectly portioned recipes, a tool like the AI Meal Planner can be a massive help for beginners.
What Common Meal Prep Mistakes Should I Avoid?
Diving into meal prep is exciting, but it’s really easy to hit a few snags that can leave you frustrated and ready to quit. Knowing the most common pitfalls ahead of time is your best defense for building a habit that actually sticks.
A lot of beginners stumble right out of the gate by getting way too ambitious. It's tempting to plan seven different gourmet meals for every single day of the week, but trust me, that's a surefire recipe for overwhelm. You'll end up with a mountain of dishes, a trashed kitchen, and a routine that feels completely unsustainable.
Are You Trying to Do Too Much Too Soon?
The single biggest mistake I see is biting off more than you can chew. Instead of attempting a full seven-day meal marathon, pull back and start with a much smaller, more manageable goal.
A much smarter strategy is to just focus on 3-4 days of lunches. This one simple change makes the entire process feel less like a massive chore and more like a helpful life hack. Once you’ve got that down, you can gradually expand to include a few breakfasts or dinners.
Did You Choose the Wrong Recipes?
Not all recipes are created equal in the meal prep world. Some ingredients just don't hold up after a few days in the fridge, and choosing dishes with delicate textures or things that get soggy can lead to seriously disappointing meals later in the week.
To sidestep this, stick with prep-friendly foods. Here’s a quick look at what works and what to be careful with:
| Prep-Friendly Ingredients | Ingredients to Use with Caution |
|---|---|
| Roasted root vegetables (carrots, sweet potatoes) | Leafy greens (add dressing just before eating) |
| Hearty grains (quinoa, brown rice, farro) | Fried or breaded items (they lose their crispness) |
| Sturdy proteins (grilled chicken, baked tofu, lentils) | Delicate fish (can get dry and rubbery when reheated) |
| Soups, stews, and chilis (flavors often get better) | Cream-based sauces (can separate or curdle) |
The goal here is to pick recipes that are not only delicious on day one but are also resilient. Think sturdy, flavorful meals that taste just as good—or maybe even better—on day three.
How Can You Avoid Flavor Fatigue?
Eating the exact same meal for four days straight is the fastest way to experience "flavor fatigue." This is that moment when your prepped lunch starts to feel more like a punishment than a convenience. Luckily, a little bit of smart planning can prevent this boredom entirely.
The solution is to prep components, not just finished meals. For example, cook a big batch of a versatile protein like shredded chicken, a grain like quinoa, and a tray of roasted vegetables. Then, each day, you can assemble them differently.
- Day 1: A classic quinoa bowl with a lemon-tahini dressing.
- Day 2: A wrap using the shredded chicken, fresh greens, and a spicy yogurt sauce.
- Day 3: A big salad topped with the chicken and veggies, using a vinaigrette.
This mix-and-match approach keeps things interesting without forcing you to cook a bunch of totally separate meals. You can also use different sauces, spices, or fresh toppings like avocado or herbs to instantly change the flavor profile.
The most successful meal preppers don't force themselves to eat the same meal on repeat. They build a flexible system with versatile components that can be customized throughout the week, which is the key to long-term consistency.
Are You Making Common Storage Mistakes?
Improper storage can completely ruin all your hard work. Using the wrong containers, not cooling food properly before you stick it in the fridge, or misjudging portion sizes are frequent errors that mess with both food safety and quality.
Always use airtight containers to keep food fresh and prevent leaks. Another critical step is to cool your cooked food quickly before refrigerating it to stop bacteria from growing. Finally, be mindful of portion sizes; prepping massive portions can lead to food waste if you can't finish them in time. A simple digital food scale can be a huge help with this.
It’s interesting to see how cooking habits have changed. The number of U.S. adults cooking at home has gone up, yet the market for convenient ready-made meals also grew to USD 27.9 billion in 2023. This shows that many successful beginners use a hybrid approach—combining home-prepped components with convenient store-bought items to avoid burnout. You can find more data on this trend at agriculture.canada.ca. Tools like the AI Meal Planner can help you build a flexible plan that fits this modern approach perfectly.
Frequently Asked Questions
How long does prepped food last in the fridge?
Most cooked meals, like chicken, grains, and roasted vegetables, will stay fresh and safe to eat for 3 to 4 days when stored in airtight containers.
Can meal prepping actually save you money?
Yes, meal prepping significantly cuts down on food waste, expensive takeout orders, and impulse grocery purchases, leading to substantial savings for most people.
What are the best containers for a beginner?
Start with a set of affordable, BPA-free plastic containers that are leak-proof and safe for the microwave and dishwasher. They are lightweight and practical for learning your routine.
Can I meal prep for a special diet like keto or vegan?
Absolutely. Meal prepping gives you full control over every ingredient, making it an ideal way to stick to any specific dietary plan, from vegan to gluten-free.
How do I keep my meals from getting boring?
Avoid flavor fatigue by prepping versatile components, not identical meals. Cook a base protein and grain, then use different sauces, spices, and fresh toppings each day.
Do I have to cook everything on a Sunday?
No, you can split your prep into two shorter sessions or simply do "ingredient prep" by chopping vegetables and marinating proteins ahead of time.
Is it safe to reheat cooked rice?
Yes, it's safe if you cool the rice quickly after cooking (within one hour) and reheat it until it is steaming hot all the way through.
Ready to take all the guesswork out of planning? AI Meal Planner creates personalized meal plans and smart grocery lists in seconds, tailored to your goals and preferences. Start your journey to effortless healthy eating today.
AI-powered nutrition
Get Your Personalized Meal Plan
AI creates the perfect meals for your goals, lifestyle, and taste.
Start Your Journej